
hi guys, in this tutorial i will guide you for setup metalLB in minikube as a k8s cluster, before we continue to step by step, i will explain little bit what is MetalLB and why we need metalLB
MetalLB hooks into your Kubernetes cluster, and provides a network load-balancer implementation. In short, it allows you to create Kubernetes services of type LoadBalancer in clusters that don’t run on a cloud provider, and thus cannot simply hook into paid products to provide load balancers.
ok I assume you already have and run minikube setup on your pc/laptop, if yes you can continue to step below
enable metalLB addons on k8s, you can check with command below, the metalLB addons already enable or not
minikube addons list
and you can get result like below if metalLB addons not enable

from capture above we can see minikube addons still in disabled, so we must enable with command below
minikube addons enable metallb
and you can get result like capture below

after we enable addons metalLB in minikube, we can continue to next step for install metalLB on k8s minikube cluster, so the next step you must edit configmap kube-proxy with command below
kubectl edit configmap -n kube-system kube-proxy
and change the value like below
apiVersion: kubeproxy.config.k8s.io/v1alpha1
kind: KubeProxyConfiguration
mode: "ipvs"
ipvs:
  strictARP: true
and after that you can continue for install metalLB manifest with command below
kubectl apply -f https://raw.githubusercontent.com/metallb/metallb/v0.12.1/manifests/namespace.yaml
kubectl apply -f https://raw.githubusercontent.com/metallb/metallb/v0.12.1/manifests/metallb.yaml
after install manifest above you can edit configmap config on metallb-system namespace with command below
kubectl edit cm config -n metallb-system
and add your ip range like below on addresses
apiVersion: v1
kind: ConfigMap
metadata:
  namespace: metallb-system
  name: config
data:
  config: |
    address-pools:
    - name: default
      protocol: layer2
      addresses:
      - 192.168.59.150-192.168.59.200
make sure your ip range can reach from your env, in my case i use virtualbox and check on config network preference like below, please make sure you range not use in any resource like k8s server or other virtual machine

so the final step i have manifest nginx like below
apiVersion: v1
kind: Service
metadata:
  name: nginx-svc
spec:
  selector:
    app: nginx
  ports:
    - protocol: TCP
      port: 80
      targetPort: 80
  type: LoadBalancer
---
apiVersion: apps/v1
kind: Deployment
metadata:
  name: nginx-deployment
  labels:
    app: nginx
spec:
  replicas: 1
  selector:
    matchLabels:
      app: nginx
  template:
    metadata:
      labels:
        app: nginx
    spec:
      containers:
      - name: nginx
        image: nginx:1.14.2
        ports:
        - containerPort: 80
and apply with command below
kubectl apply -f nginx.yaml
and for next check if the pods is alive and the service has got the loadbalancer ip with command below
kubectl get pods,svc
and the result will like below

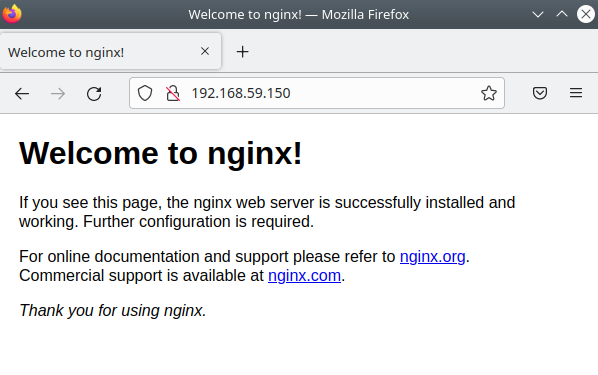
and after service got the EXTERNAL-IP, you can use ip 192.168.59.150 as a EXTERNAL-IP from service nginx-svc, for example you can open the ip on browser like capture below
reference link:
